Last updated on December 6, 2025
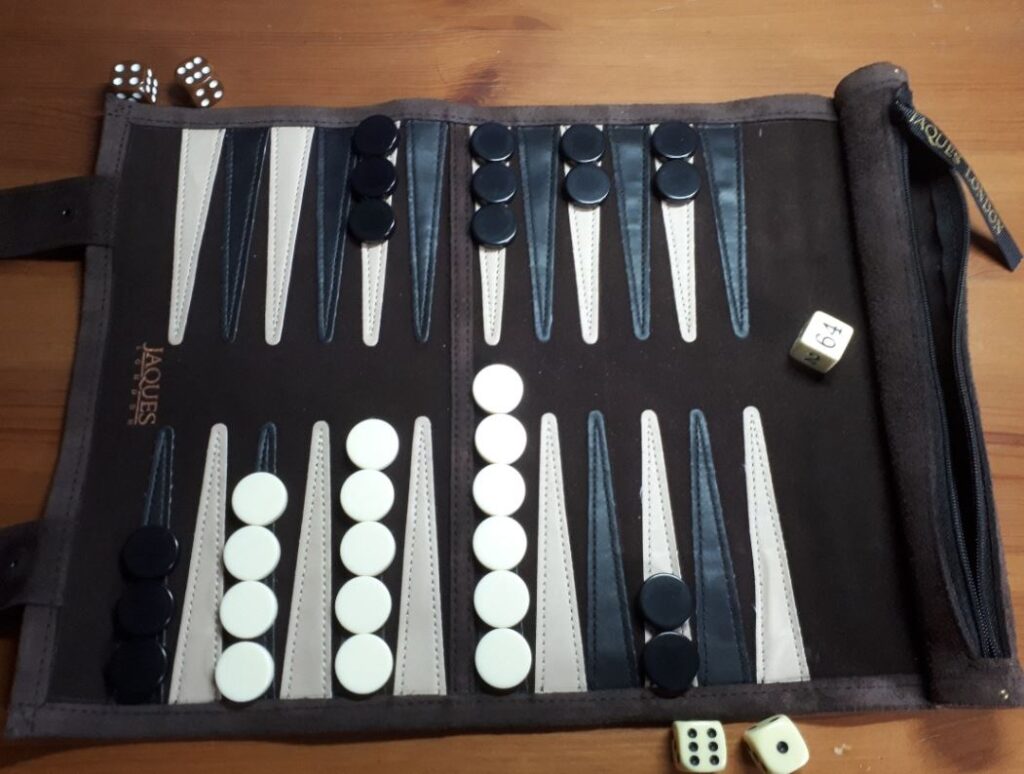
In this Deluxe Backgammon post for beginners, we look at the importance of distributing your checkers as evenly as possible. It is very common amongst beginners to be risk-averse and avoid leaving blots. They are simply scared of being hit and, as a result, end up with a series of towers or ‘candlesticks’ across the board. Although initially very safe, it gives fewer options on subsequent rolls and can ultimately end up where the player is forced to make undesirable moves. Backgammon checker distribution is a key concept for beginners to understand.
Flexibility
The goal of backgammon is to find a way to remove all your checkers from the board before your opponent does. The first player to achieve this goal is the winner. In simple terms, backgammon is a competitive race. However, the game only becomes a true race once contact is broken. This is where both players have moved all their checkers past each other, and hitting is no longer possible. At this point, it becomes a pure race and is heavily reliant on the luck of the dice. However, at the beginning of the game, there are many obstacles to overcome before contact is broken. There are a number of different tactics and strategies that can be applied throughout a game. The key to winning is being able to have the freedom to adopt these tactics and strategies as required. This requires flexibility, which is only obtainable by having an effective checker distribution (Distribution at Gammoned.com).
Probability
Although the rules allow a player to stack as many checkers as they like on a single point, it is actually counterproductive to have more than four or five checkers on a single point. It only takes two checkers to secure a point, which becomes a blocking point for your opponent and a safety point for your own checkers. An additional checker on a secure point gives you a builder that you move forward tactically, whilst still retaining the secure point. Having a fourth checker on a point provides an extra builder, but going beyond that is usually a waste of material, as you sacrifice flexibility. A good rule of thumb is to try to have a maximum of four checkers on any point. Additionally, if a slotted checker needs to be covered, try to keep a builder in range of a direct roll (six pips or less). This increases the probability of securing the point on the next roll (Odds and Probabilities at GammonVillage).
Options
A player with an even checker distribution will have more moves to choose from on any given roll. As a result, the dice will appear to roll in favour of that player. This is, of course, an illusion. The player simply has more options and can choose the most favourable. For example, imagine two scenarios involving the distribution of nine white checkers. In the first scenario, there are seven checkers on the bar point and two on the six-point. The opponent has two checkers on your one point. Any roll, apart from 1-1, will force you to leave a blot. In scenario two, there are three white checkers each on points eight through six. The opponent has two checkers on your one point. In this case, two-thirds of the possible rolls allow you to move and cover a point. It is only those where the dice difference is three or greater that force the player to leave a blot.
Bearing off
An even distribution of checkers in the home board helps to avoid wastage when bearing off (Backgammon bearing off at HowStuffWorks). If every point has one or more checkers, then you will be able to bear off at least two checkers on any given roll. In contrast, if there are gaps in the distribution, there will be certain rolls where you may be unable to bear off any checkers. For example, if your checkers are occupying points six through four, any rolls involving 1, 2 or 3 will prevent you from bearing off a checker. A general rule of thumb is to spread the checkers as evenly as possible across the home board. This is further complicated when you are bearing off against checkers in your home board.
Related content
Playing efficiently at The Gammon Press.


This makes total sense, take a little risk early in the game and give yourself more options later.
Hi Owen, you are 100% right. It is a key concept in backgammon – make sacrifices for good positions. If you make these sacrifices early, you have planty of time to recover. I hope you continue to enjoy your backgammon, thanks for taking the time to comment, Jason
A good concept to understand in backgammon. A must read for beginners.