Last updated on February 7, 2026
This Deluxe Backgammon post is another in our series for beginners and newcomers. Today, we will examine a common scenario in backgammon: bearing off against a checker on the bar. Clearly, to arrive at this situation, there are two requirements. Firstly, you have moved all of your checkers into your home board. Otherwise, you would not be in a position to bear off. Secondly, you have hit one of your opponent’s checkers, and they need to re-enter from the bar.
This is not a bad position to be in, especially if you hold a six-prime in your home board. In this case, your opponent cannot re-enter until you clear a point or leave a blot. However, depending on what has happened earlier in the game, your opponent could still be well ahead in the race. This could lead to a complicated scenario whereby it is an advantage to be hit in order to have the opportunity to hit again yourself. However, we are going to consider this scenario whereby you are slightly ahead in the race by virtue of the opponent’s checker on the bar.
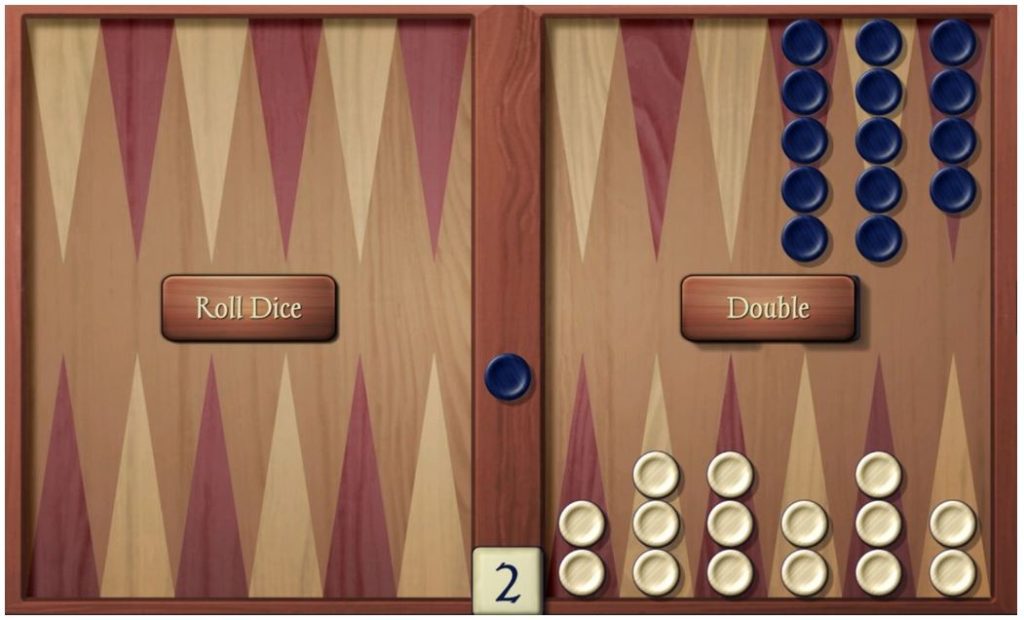
Six-prime
You also hold a six-prime, as shown in the image below. Black has a pip count of 54 and White 53. The race is extremely close, and if Black were to escape with a double, they could easily run away with the game (The Race at Gammon Empire).
In this situation, the ideal rolls for White would be a 5-4, 5-2 or 4-2. This would allow White to bear off checkers and leave the six-prime intact. The general rule of thumb when bearing off is to take off checkers whenever possible. However, in this situation, that could be disastrous.
Consider a roll of 6-1 for White. They must bear off the checker on the six-point, leaving a blot on the six, with 1 to play. Bearing off a checker from the one-point would be a catastrophic error. This would leave White with blots on the six and one-points. Black now has the opportunity to re-enter, and if they do, they will hit. In fact, a Black roll of 6-1 would allow them to re-enter and hit both White blots. The safe move for a 6-1 would be to bear off the 6 and move the lone blot from the six-point to the five-point. This gives Black the chance to re-enter, but no chance of a hit (Hitting at the USBGF).
Risk and reward
Imagine a roll of 4-3 for White. There is the opportunity to bear off checkers from the four and three-points, but again, this leaves Black with the chance to re-enter with a hit. A far better move would be to bear off a checker from the four-point and move another checker forward from the five-point to the two-point. This advances your checkers and leaves the six-prime intact (Prime at Backgammon Galore).
A roll of 6-6 or 5-5 could also be disastrous for White. Although they would bear off three checkers, they would be forced to leave a blot on the five or six-point. A general rule for bearing off is to try to keep an even number of checkers on your highest occupied points. This is to avoid being forced to leave a blot due to a high roll. Keep this in mind and use lower rolls to even out the highest occupied points. The critical concept of this scenario is to start by moving pieces off your highest points when it is safe to do so without leaving a blot. As you clear the higher points, a high roll from your opponent can force them to leap over your checkers and break contact. At this point, you should be ahead in the race and have a clear running advantage.
Related content
Backgammon rules are available on this link.
The probability of entering checkers from the bar.

You have a typo in this one. The ideal rolls should include 5-2. Thank you for this site.
Hi Jennifer, well spotted, I have made the update. You might like this post about where to leave blots. Thanks for commenting, pleased you like the website, Jason
Hi, thank you for the article! I *think* there’s a mistake though – surely opponent would need a 5 & 1 to take both blots in this situation “Consider a roll of 6-1 for White. They must bear off the checker on the six-point, leaving a blot on the six, with 1 to play. Bearing off a checker from the one-point would be a catastrophic error. This would leave White with blots on the six and one-points”
Hi Paula,
In this situation, leaving blots on the 1 and 6 points, means that Black could re-enter and hit with a role of 1 or 6. Or as you rightly point out a roll of 1 & 5 would allow White to re-enter and hit both blots. So the correct way for White to play is to bear off a checker from the 6 point and move the remaining blot on the 6-point forward with the 1 to the 5 point. This means Black can re-enter with a roll of 6, but can’t hit any White checkers. Thanks for taking the time to comment on this Deluxe Backgammon post, Jason